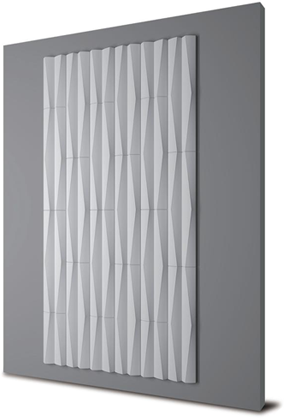
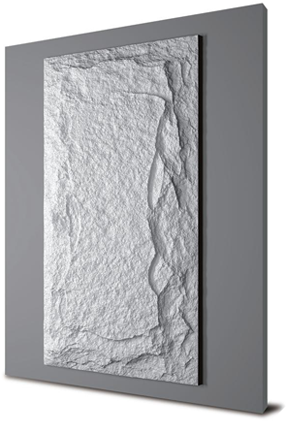
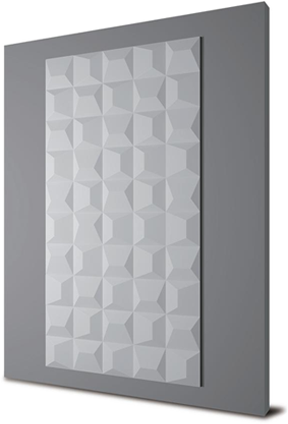
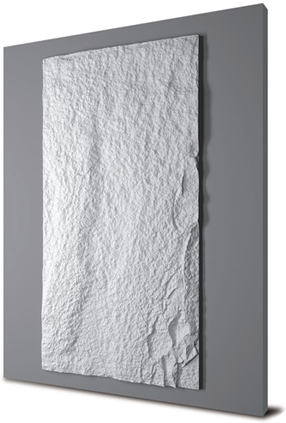
E02 Lightweight And Durable PU Stone Wall Panel
Plank Size: 600*1200 mm
Plank thickness: 25 mm
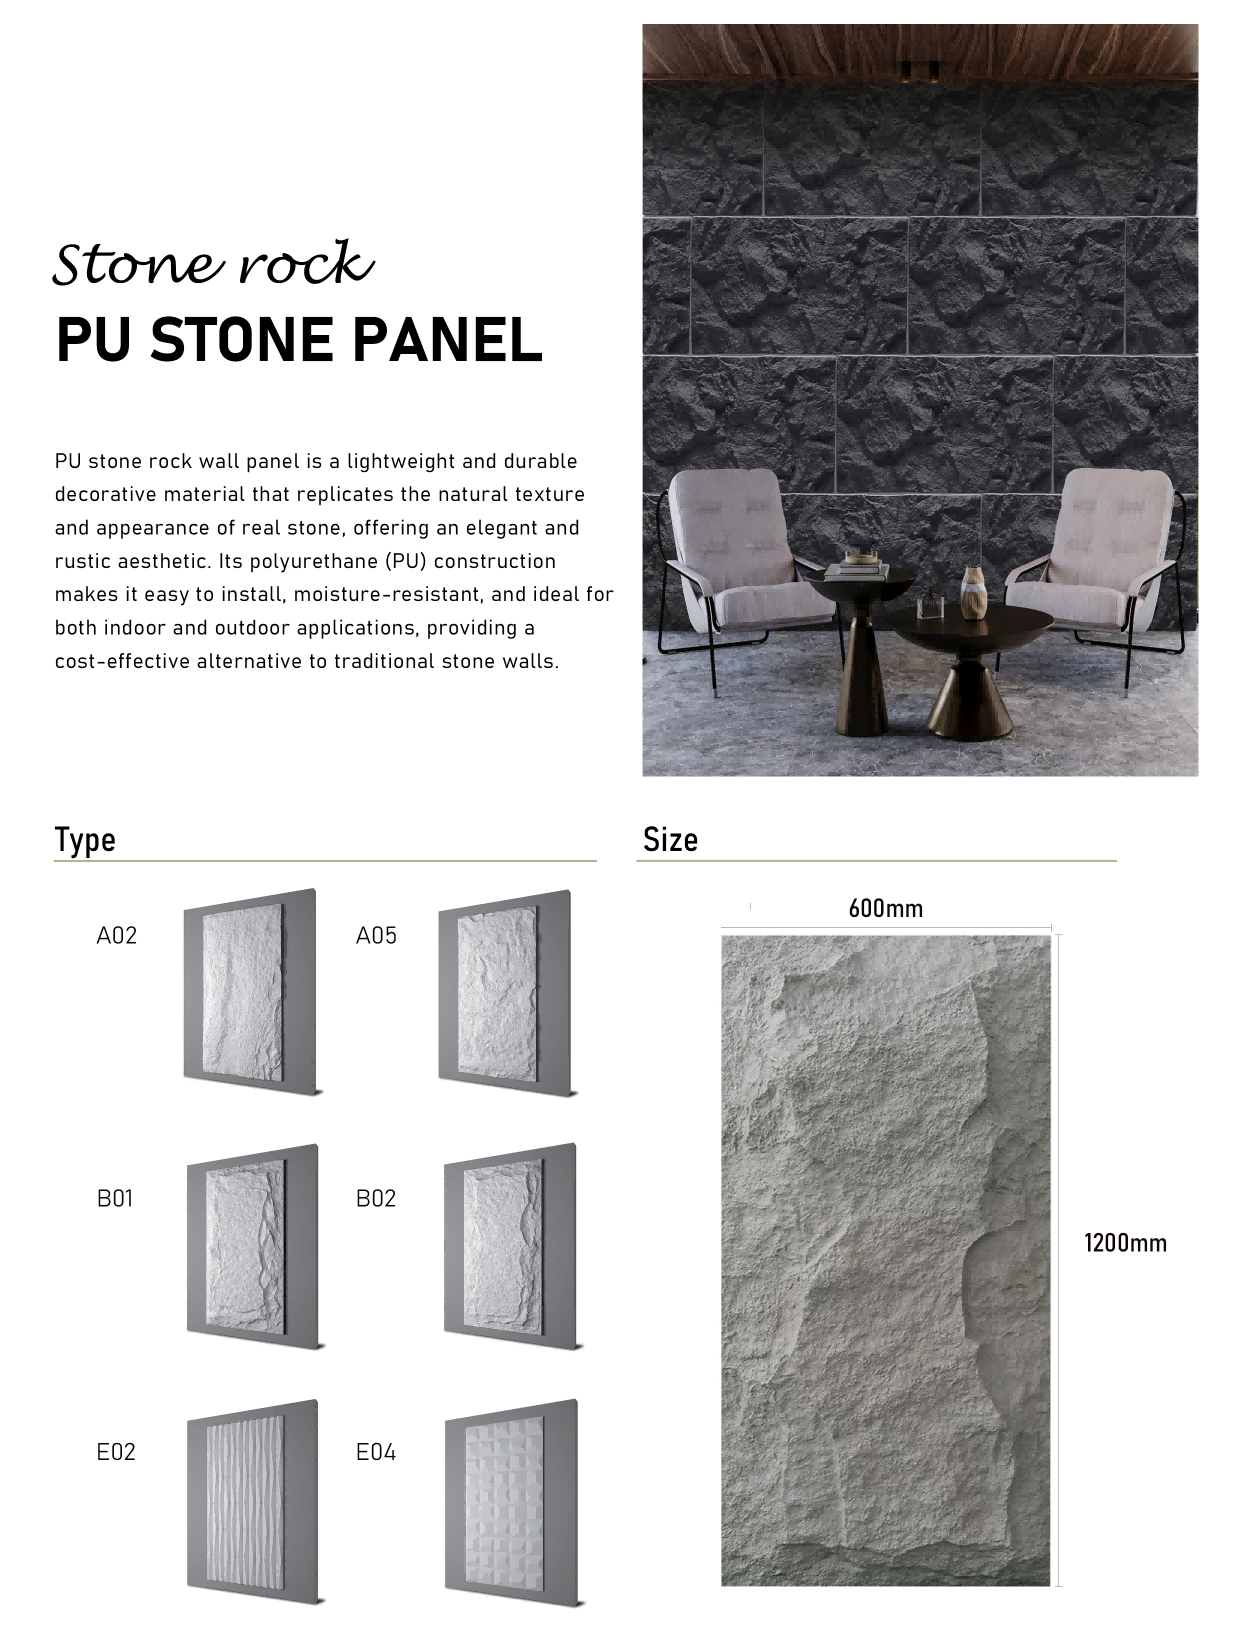
PU stone wall panels are lightweight, durable, and eco-friendly decorative panels that mimic the natural look of stone with realistic textures and finishes. They offer excellent weather resistance, easy installation, and low maintenance, making them ideal for both interior and exterior applications. These panels provide a cost-effective and versatile solution for enhancing architectural aesthetics without the weight or expense of real stone.
PRODUCT FEATURES
1. Lightweight
Much lighter than real stone, making it easier to transport and install.
Reduces the load on walls and structures — ideal for older buildings or DIY projects.
2. Easy Installation
Typically comes with interlocking or click systems.
No need for mortar or grout.
Can be installed with basic tools (screws, adhesive).
3. Cost-Effective
Lower material and labor costs compared to natural stone or brick.
Long-term savings from reduced maintenance needs.
4. Realistic Appearance
High-quality PU panels are molded from real stone, giving them a very realistic texture and look.
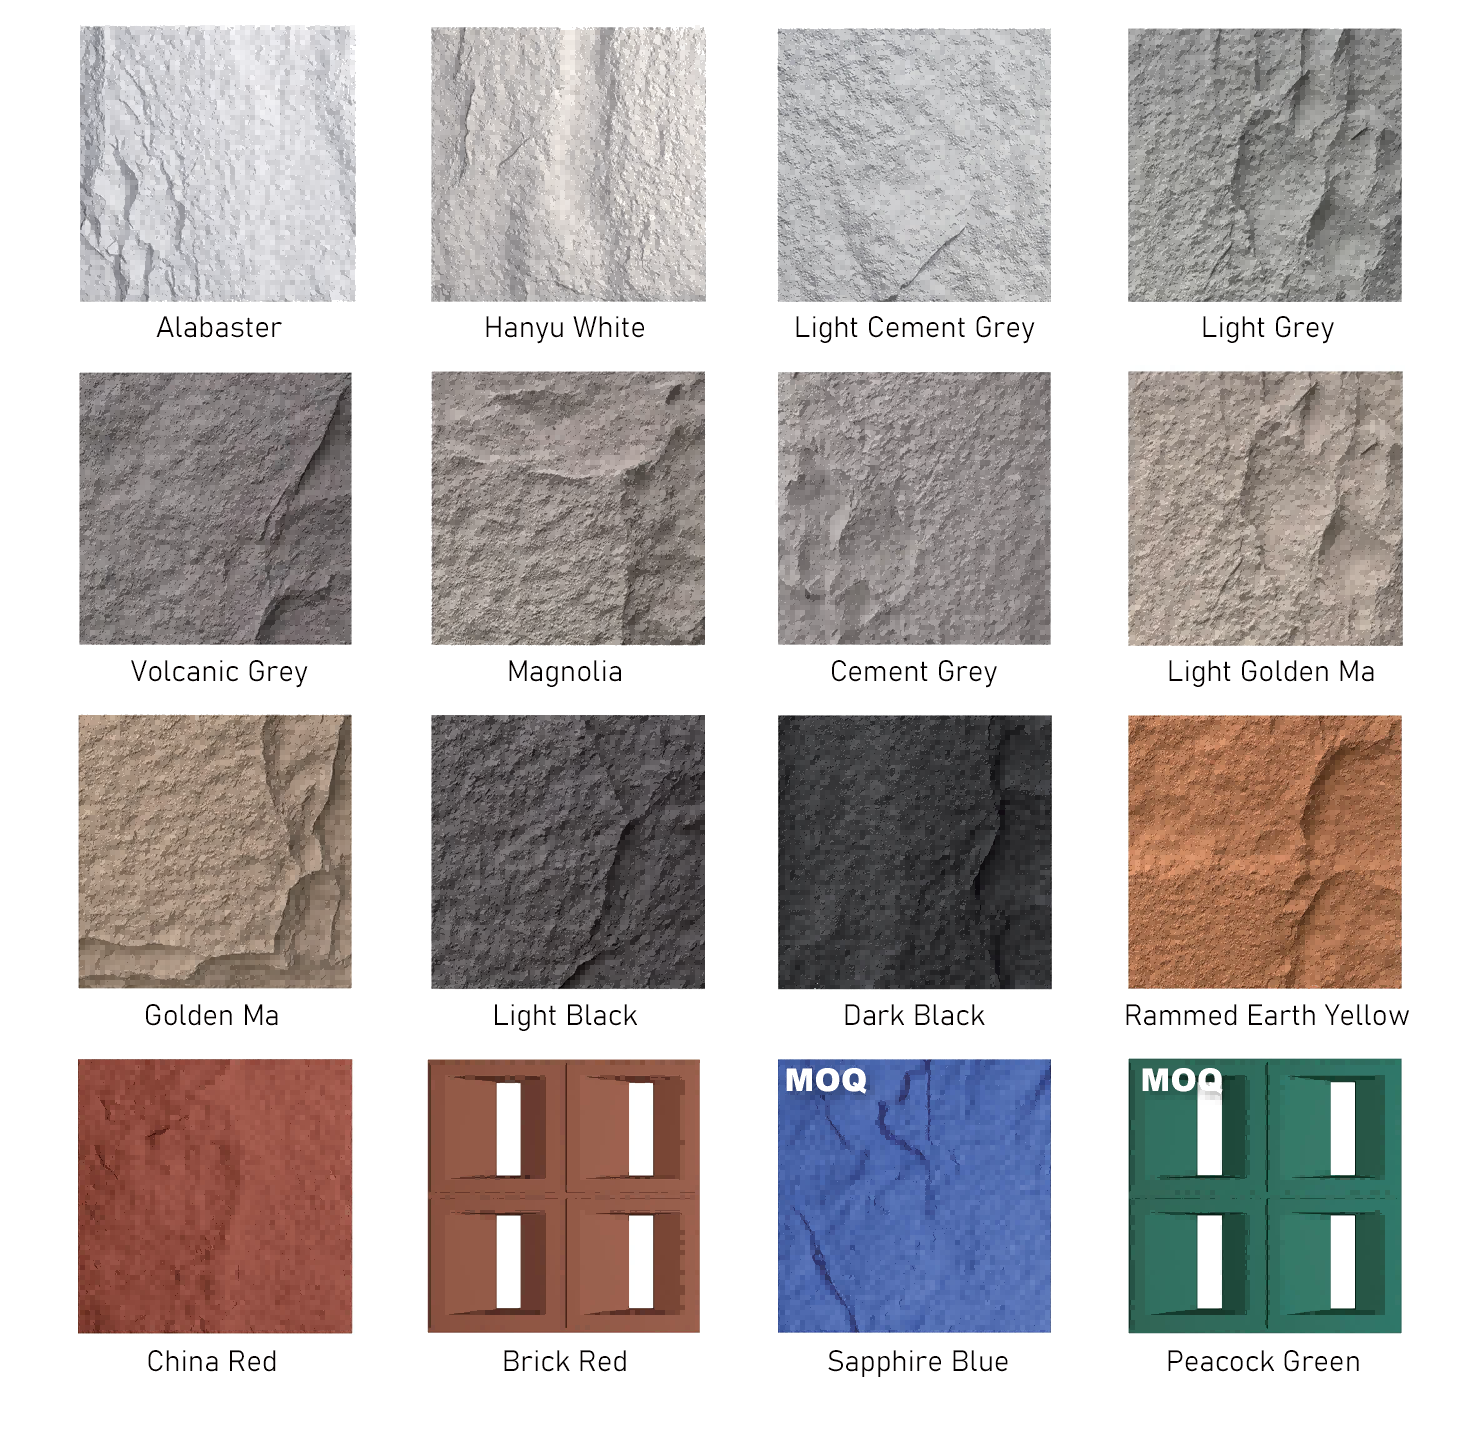
Available in various styles and colors to mimic different types of stone.
5. Insulation Properties
PU foam has good thermal and sound insulation properties.
Helps regulate indoor temperatures and reduce noise.
6. Durability
Resistant to moisture, insects, and general wear and tear.
Does not crack or chip like natural stone can.
7. Weather Resistant
Suitable for both indoor and outdoor use.
Withstands UV rays, rain, frost, and other environmental factors.
8. Low Maintenance
No need for sealing, polishing, or repainting.
Easy to clean with just water and mild soap.
9. Fire Retardant Options
Many PU panels come with fire-retardant coatings, making them safer for indoor use.
10. Eco-Friendly Options
Some manufacturers use recyclable or sustainable materials in production.
ITEM SPECIFICATIONS
Selective Colors
WARRANTY
| RESIDENTIAL WARRANTY | 20 years |
| COMMERCIAL WARRANTY | 5 years |
INSTALLATION
Step-by-Step Installation Guide:
Step 1. Surface Preparation
Ensure the wall is clean, dry, and free from dust, grease, or loose particles.
If the surface is uneven, apply a leveling compound or use a plywood base for better adhesion.
For porous surfaces (like concrete/brick), apply a primer to improve bonding.
Step 2. Measuring & Panel Cutting
Measure the wall area and plan the layout to minimize cuts.
Mark the panel positions with a pencil.
If trimming is needed, use a fine-tooth saw or utility knife for clean cuts.
Step 3. Applying Adhesive
Apply a strong construction adhesive (like PU panel glue or liquid nails) on the back of the panel in a zigzag pattern or dotted lines.
For extra support, apply adhesive on the wall as well.
Step 4. Installing the Panels
Press the panel firmly onto the wall, starting from the bottom corner.
Use a level to ensure proper alignment.
If needed, secure with screws (especially for exterior installations) and cover screw heads with matching PU filler.
Maintain consistent gaps (if required) using spacers.
Step 5. Sealing & Finishing
Fill gaps between panels or edges with silicone sealant (color-matched if possible).
Smooth out excess adhesive/sealant with a damp cloth.
For a seamless look, apply PU panel joint paste (if required).
Step 6. Final Inspection
Check for any loose panels and reinforce if needed.
Clean the surface with a soft cloth to remove any residue.
✔ For Exterior Use: Use weather-resistant adhesive & sealant to prevent moisture damage.
✔ For Heavy Panels: Combine adhesive + mechanical fasteners (screws) for better hold.
✔ Painting (Optional): PU panels can be painted with acrylic or PU-based paint if a color change is desired.


